How to install and get things ready
- Go to Webstore and install the extension.
- Open the extension dropdown and go to Settings (you must be on a
torn.com/*page).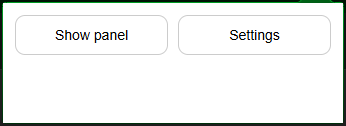
Extension dropdown The Settings panel should appear:
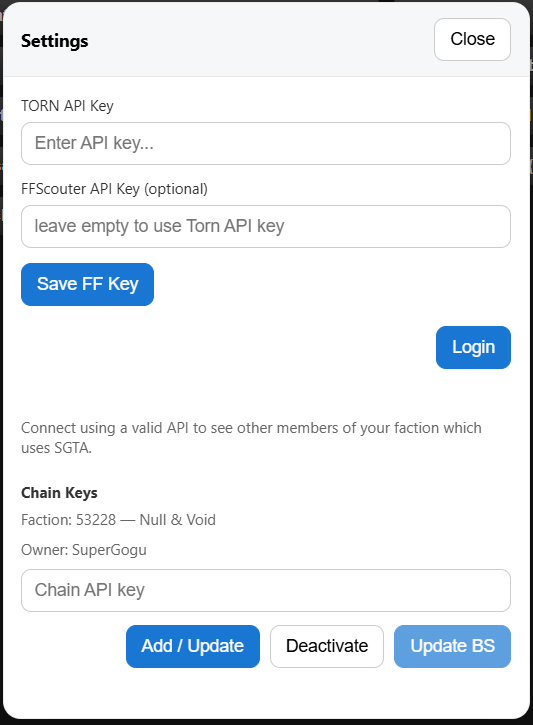
Settings panel - Enter your Torn API Key (Custom Access - User basic, bars, cooldowns, battlestats; Faction basic, chain).
- Enter your FFScouter API Key (if you don’t have one, register at FFScouter) and Save.
- Click Login. You’ll receive a free 7‑day trial; after that it costs 1 Xan/week. Send xanax to SuperGogu[3580072] with the message `SGTA`
- Enter your Faction public key. This participates in a round‑robin with other members’ keys to fetch current chain information. This is not mandatory but keep in mind that at least 1 key needs to be registered per faction
- Enable Send battle stats. These are only visible to members of your faction (if the button stays greyed out after Login, refresh the page).
- Close Settings and from the dropdown choose Show Panel.
Create custom API key for SGTA
Panels
Main panel
The first window that opens after Show Panel is the main panel. It’s draggable — place it anywhere you like.
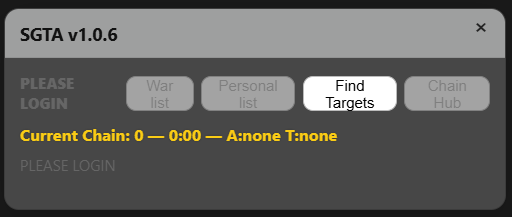
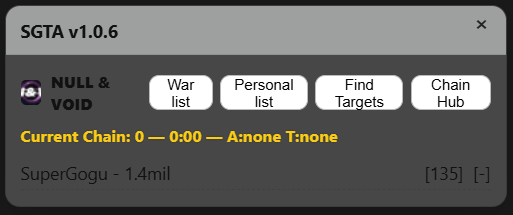
The main panel provides quick access to four feature panels:
- War List
- Personal List
- Find Targets
- Chain Hub
a) War List
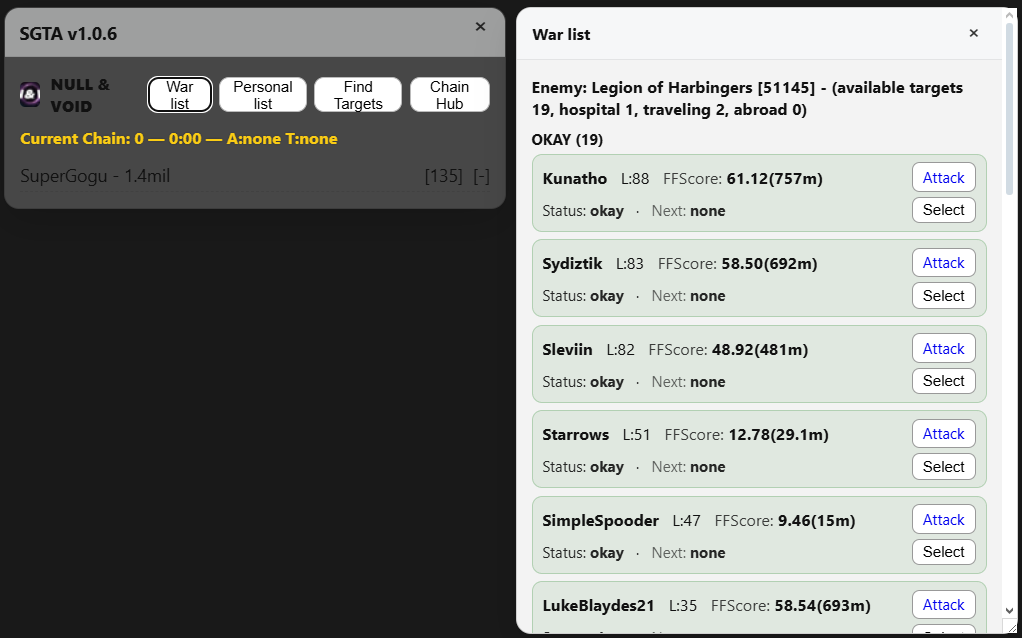
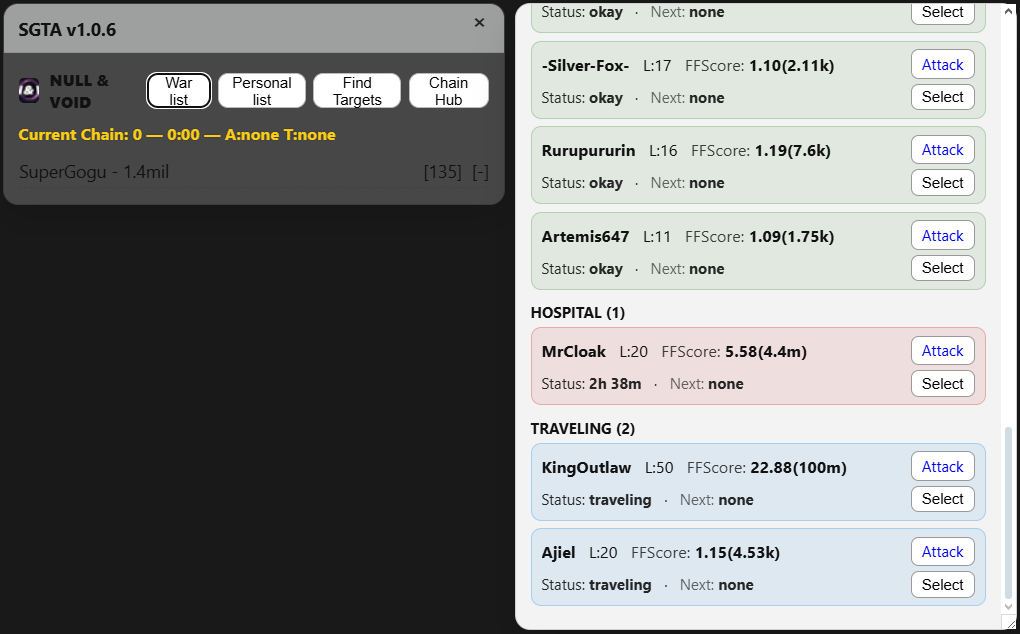
An enemy list is generated using your Torn API key; details for each enemy are enriched via the FFScouter API. If there’s no active war, the list is empty.
For each enemy you’ll see name, level, availability/FF, and (if any) who’s next in the queue attacking them.
- Select / Deselect — marks that enemy as your target. You can select multiple enemies; they will appear in a shared faction‑wide queue visible to other extension users.
- Attack — opens the enemy’s attack page in Torn.
b) Personal List
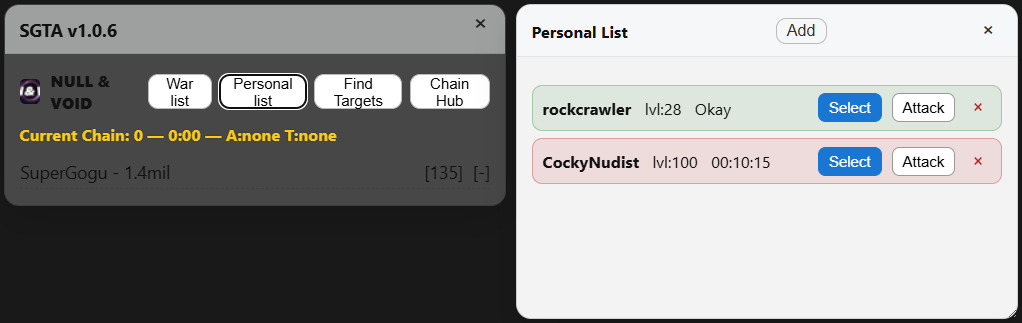
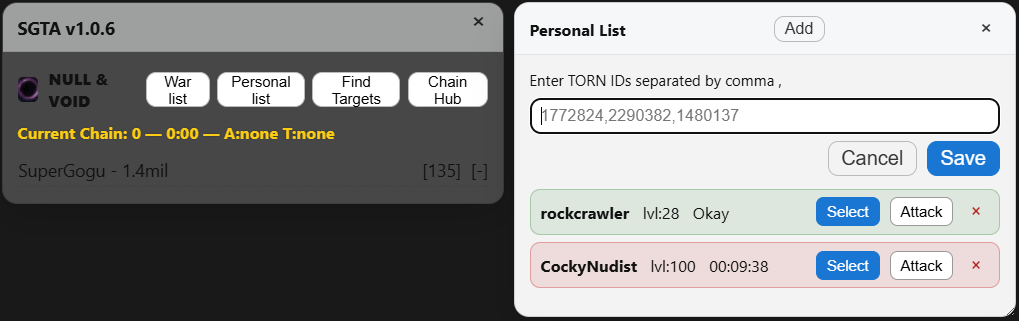
The Personal List is built from your own choices. Initially it’s empty. Click Add to insert multiple player IDs (comma‑separated).
For each enemy you’ll see name, level, and availability.
- Select / Deselect — marks that enemy as your target; selections are included in the shared faction queue.
- Attack — opens the enemy’s attack page.
c) Find Targets
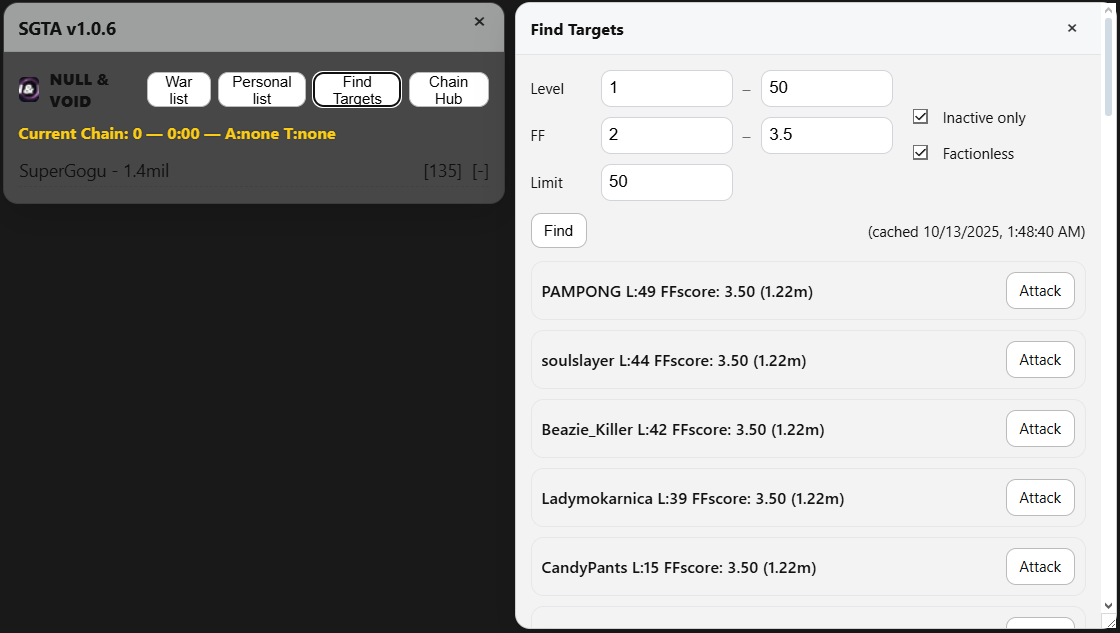
Integrated with FFScouter’s Target‑finder using filters like Level, FF, Inactive, Factionless, and Limit.
d) Chain Hub
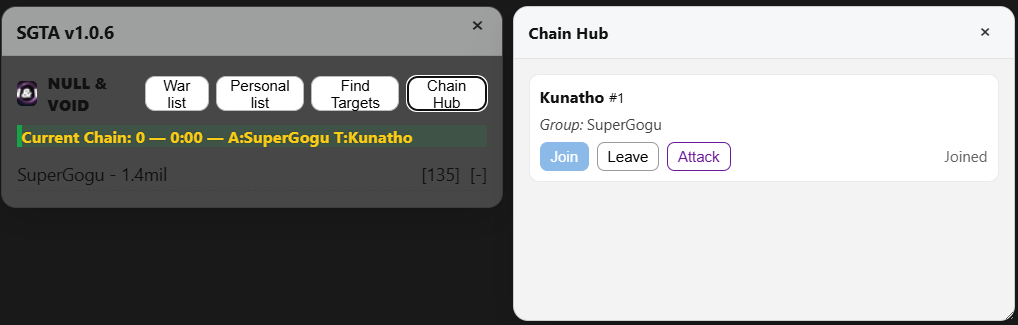
The Chain Hub builds a queue from enemies selected in War List / Personal List. For each enemy it shows the name, queue position, and participating attackers.
- Join — available if you haven’t joined yet; marks you as part of the group attacking that enemy.
- Leave — removes you from that group.
- Attack — hyperlink to the enemy attack page.
Privacy & data
Battle stats are only visible to members of your faction using the extension. API keys are used strictly for features described above.